
User-defined templates
The print templates available after the ETS installation are structured as follows:
| Filename | Content | Additional Information |
| AVERY Zweckform L4731.dot |
|
L4731: Office area, white in color, also removable |
| AVERY Zweckform L6008.dot |
|
L6008: Manufacturing area, silver in color, polyester |
| AVERY Zweckform L4732.dot |
|
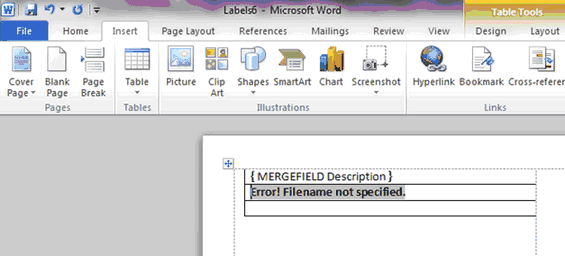
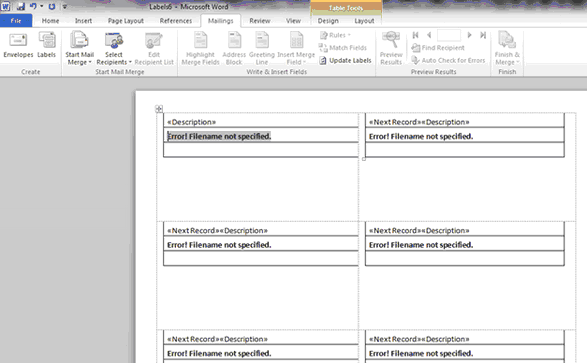
The message in MS Word "Error! Filename not specified." only indicates in a printout that no more devices are present in the project and the associated image path can then not be found. It is not an error.Unfortunately, labels with errors or useless data must be deleted from the document manually before printing. Technical Information
|
The Zweckform code (e.g. L4731) adheres to label standards; labels can be obtained in common online or office supply stores.
A bit of knowledge about the design of "Labels" in MS Word is required in order to be able to define your own print templates in addition to the two which are provided.
In the following steps, the template will be created using MS Word. The images shown in the explanations are from an English version of MS Word 2010 (other languages are analogous).
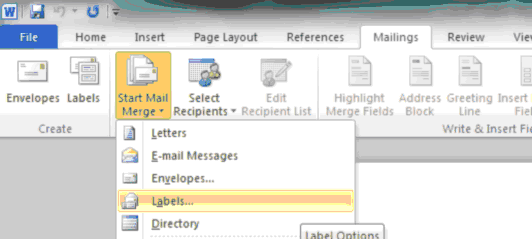
1st Step; Preparation
Start Word and make the selection under "Labels" as shown in the image.
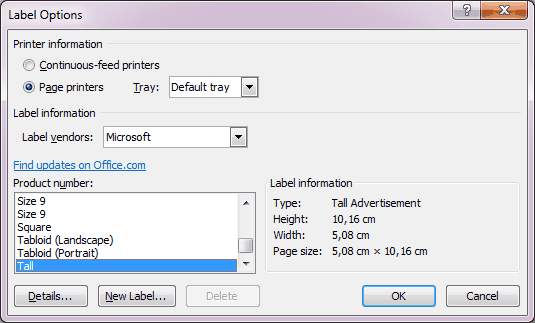
2nd Step; Create template
Select the label and manufacturer (the manufacturer doesn’t matter; it won’t be used); if already available, continue with step 4.
Make and define changes or new labels as needed.
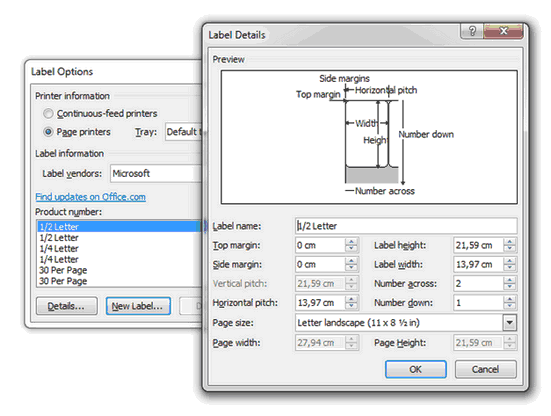
Adapt the page layout
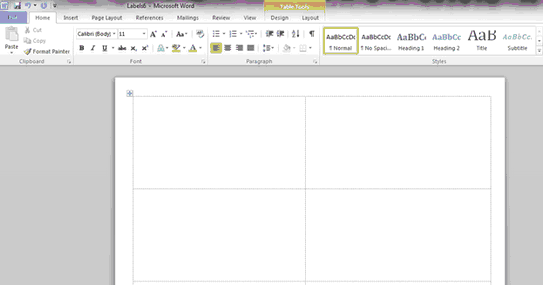
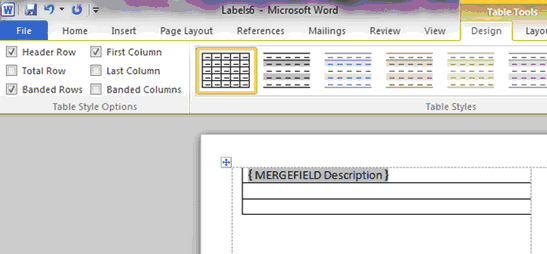
3. Step; Define text field information
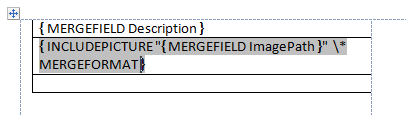
In the templates, all printable contents are indicated by a keyword (MERGEFIELD).
{ MERGEFIELD  Description \* MERGEFORMAT }
    { INCLUDEPICTURE  "{ MERGEFIELD ImagePath }"  \* MERGEFORMAT }
The contents Description or ImagePath are defined by their English (internal ETS) form (IndividualAddress, Description, Product, Program, Manufacturer, Room, Trade, ImagePath)
1.Insert keyword { } using CTRL+F9.
2.Enter MERGEFIELD and the desired content (a table can also be used, which enables very accurate positioning and orientation).
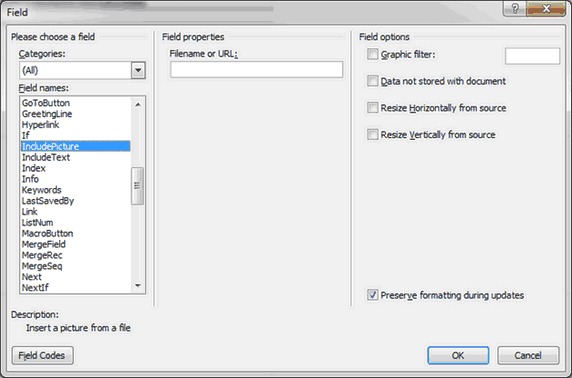
4. Step; Add image
Select Insert/Quick Parts and field.
‘Include Picture’
MS Word will display an error for the field (image path is not defined); refresh using SHIFT+F9. Then the following image will appear.
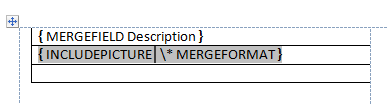
A logo path can be entered in the following manner:
•Place the cursor after INCLUDEPICTURE and insert a space.
•Insert two quotation marks including a space.
•CTRL+F9 and insert the text "MERGEFIELD ImagePath".
If you need more than one label on the sheet, the table must simply be copied n times and arranged accordingly; MS Word will automatically add a 'NextRecord' iterator.
5. Step; Update labels
Select the "Labels" menu and then "Update Labels".
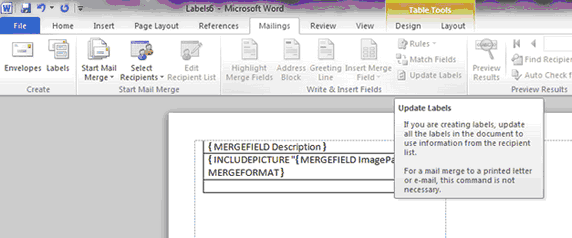
The error shown is expected (logo path not available).
Use the function found in the right context menu for toggling fields to display the original code once again.
"Known Issues"
•It is possible to define the image size, but MS Word’s behavior here is unclear, so use an image editor to try out the correct size.
•Sometimes MS Word replaces the "MERGEFIELD ImagePath" field (see Step 5) with the absolute path when the *.dot file is saved. When this happens, ETS cannot load this template. All you can do is create the print template again.
6. Step; Save labels
Save the file as *.dot (in MS Word 97-2003 Template) to the ETS default path or a user-defined path. Other formats will not be recognized by ETS.
If you save to the default path, the result can always be tested right away if the print template in MS Word is still open and ETS is open.